What is a pressure sensor?
How does a pressure sensor work?
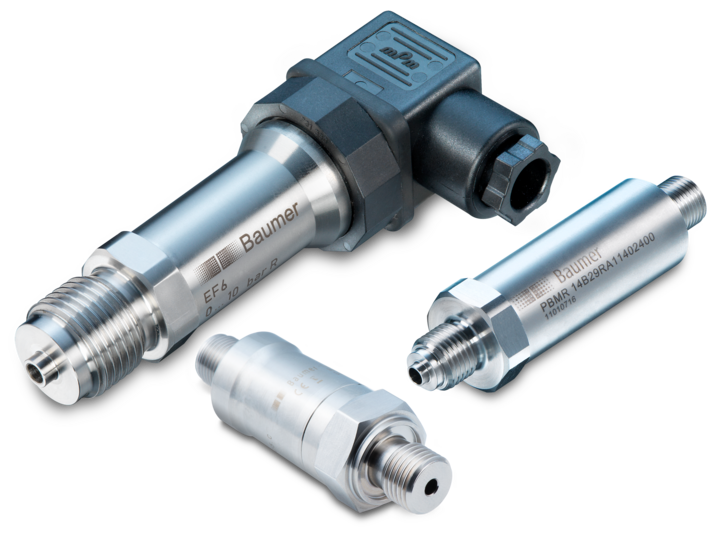
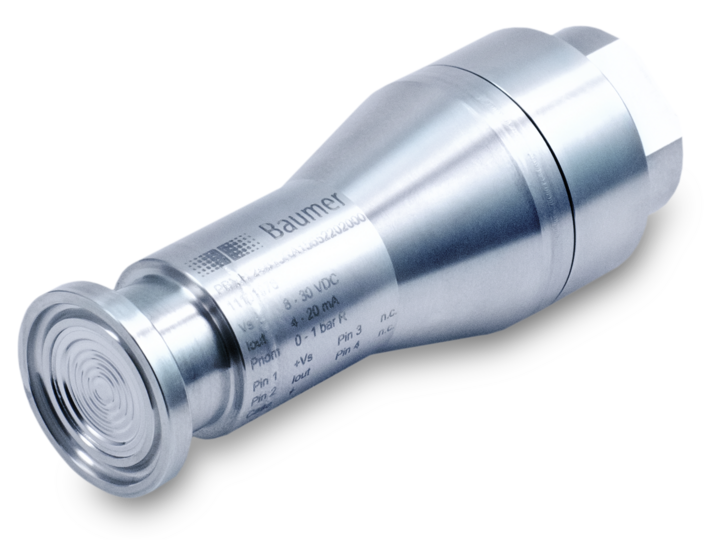
A pressure sensor measures pressure using the deformation caused at a membrane under the pressure. With different sensor technologies, the deformation is converted into electrical signals for processing and transmission to external devices for monitoring and control of pressure-related processes. Pressure measurement is one of the most important and most common technologies for machine and system monitoring and control in process technology. Baumer offers a broad portfolio of pressure sensors for a multifaceted applications.
Design and types of pressure sensors
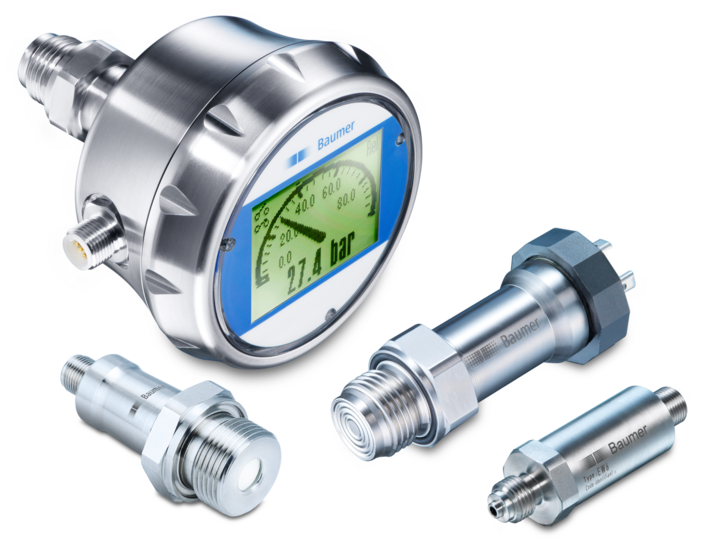
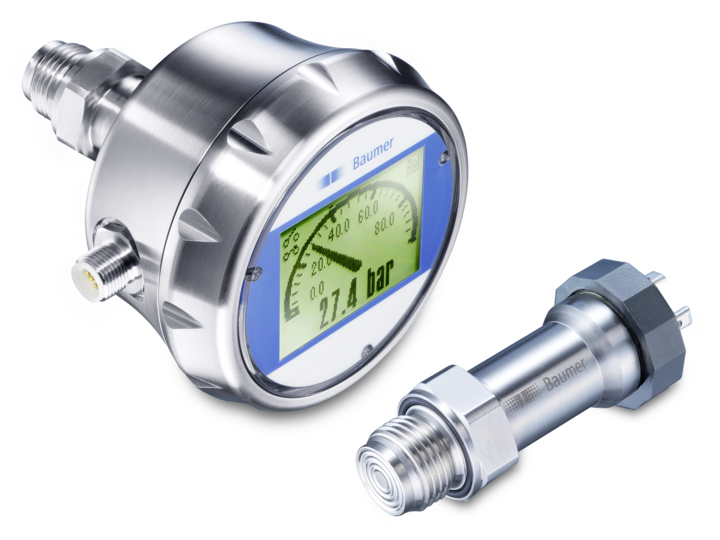
A pressure sensor includes several main components. A pressure sensor consists of a measuring diaphragm deforming at changing pressure, an opening for pressure intake, various sensor elements (e.g. piezoelectric, capacitive or piezoresistive), a signal processing unit for signal amplification and processing, a protective housing as well as electrical and mechanical connections for connectivity to external devices. These components interact to provide precise pressure measurement results in various applications.
Basically, there are different pressure sensor types based on different measuring principles:
- Resistive pressure sensors measure pressure by change in the electrical resistance resulting from mechanical stress imposed on a material.
- Piezoelectric pressure sensors generate electrical voltage through charge displacement in piezoelectric material under pressure.
- Capacitive pressure sensors detect changing capacitance in a capacitor caused by membrane deformation.
- Inductive pressure sensors measure pressure by changing coil inductance at moving a magnetic core or membrane.
- Pressure sensors with Hall element use the Hall effect to measure pressure changes.
- MEMS pressure sensors use micro-mechanical structures on a silicon chip to measure pressure.
Baumer has specialized in the common resistive pressure sensors and piezoresistive pressure sensors. Here you encounter the Baumer pressure sensors.
Principles for pressure measurement
Absolute pressure
Absolute pressure means the pressure in relation to a complete vacuum and is therefore always positive. It is measured in units such as Pascal (Pa), Bar or Psi (abs). Measurements are with sensors using a vacuum as a reference. Frequently used are MEMS sensors, capacitive sensors and piezoresistive sensors, which measure pressure by deformation of a membrane or change in electrical properties.
Typical areas of application:
- Monitoring or controlling physical processes by the absolute pressure, such as steam pressure in sterilizers or autoclaves
- CIP/SIP cleaning
- Vacuum pumps
Relative pressure
Relative pressure is measured in relation to the prevailing air pressure and can assume positive or negative values. It is specified in units such as Pascal (Pa), Bar or Psi (gauge). Relative pressure sensors require regular calibration and operate on different technologies. Piezoelectric and capacitive sensors to convert change in pressure into electrical signals. These sensors often provide ventilation holes for referencing.
Typical areas of application:
- Hydrostatic level measurement in vented tanks
- Holding force by vacuum during workpiece handling
- Pressure measurement in hydraulic or pneumatic systems
Differential pressure
Differential pressure means the pressure difference between two points in the system and can assume positive or negative values. It is measured in units such as Pascal (Pa), Bar or Psi and uses various sensor technologies such as capacitive and piezoelectric pressure sensors. Differential pressure sensors are less sensitive to ambient conditions and require regular calibration. Differential pressure can also be measured with two individual sensors that deliver two signals to the control unit for calculating the differential pressure.
Typical areas of application:
- Fill level measurement in closed containers
- Flow rate measurement in fluids
- Detecting clogged filters
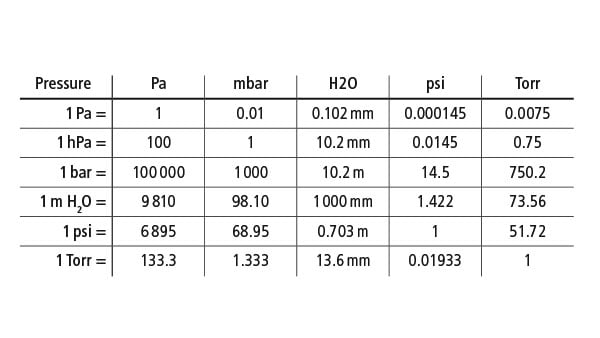
Go to conversion table of common pressure units.

Pressure sensor technology
Temperature dependency and temperature tolerance
The ambient and medium temperature have a severe influence on the accuracy of a pressure sensor. The temperature tolerance of each sensor defines its accuracy at different temperatures.
Standard measuring error and/or maximum measuring error are specified in relation to a reference temperature, usually 20 °C. However, usually the sensor operation temperature is not 20°C nor constantly the same. This affects the standard and maximum measuring error and can impair the result.
In operating conditions with another than the reference temperature (e.g. 20 °C), the sensor's standard or maximum measuring error must therefore be considered. At operating temperatures that differ from the reference temperature (e.g. 20°C), a temperature-resistant pressure sensor with lower initial accuracy is preferred against an unstable pressure sensor with higher initial accuracy.
Temperature dependency of the max. measurement deviation

Error specification
Baumer specifies the "maximum error rate" meaning statistically 99.7% of the sensors fulfill the specification. Competitors may specify the "typical defect rate", meaning 32% of the products do not fulfill the specification.

Access here our guideline "How to properly interpret the specifications of pressure sensors"
Pressure during sterilization processes
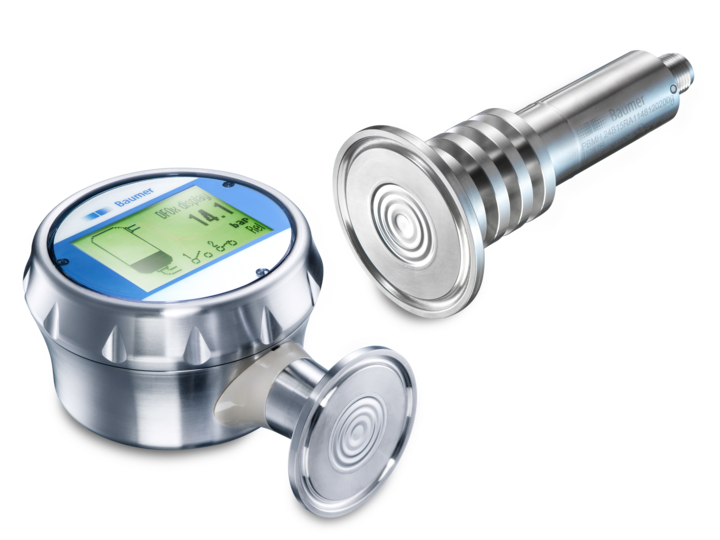
Hot steam is used to sterilize appliances and systems. Small elements like sensors (PBMH autoclavable), can be sterilized in autoclave chamber. In big installations, hot steam is passed through the system which is known as "sterilization in place" (SIP). The sensors must be correspondingly resilient, though usually signal evaluation is not during sterilization. The sensors must endure hot temperatures of about 134 °C and more than 3-bar pressure for the time of the sterilization process, usually 30 min. Pressure and temperature go physically together, as shown in the saturated steam curve.

The Baumer PBMx and PFMx pressure sensors are ideal for sterilization process control. They deliver precise values even with rapid temperature fluctuations and thus ensure reliable process control by pressure resulting in the related required temperature.

Explanation of terms and correlations

- Precision describes the possible deviation of a single measuring operation from the average of many measured values, which is understood as circle pattern. High precision: small circle pattern, low precision: large circle pattern.
- Accuracy describes the deviation (offset) of the average of several measured values towards the true value. High accuracy: small offset, low accuracy: large offset.
- Standard measuring error: Specified via the minimum value (Best Fit Straight Line, BFSL) and describes the precision (circle pattern).
- Maximum measuring error: comprises standard measurement error and the sensor offset.
Conversion table
